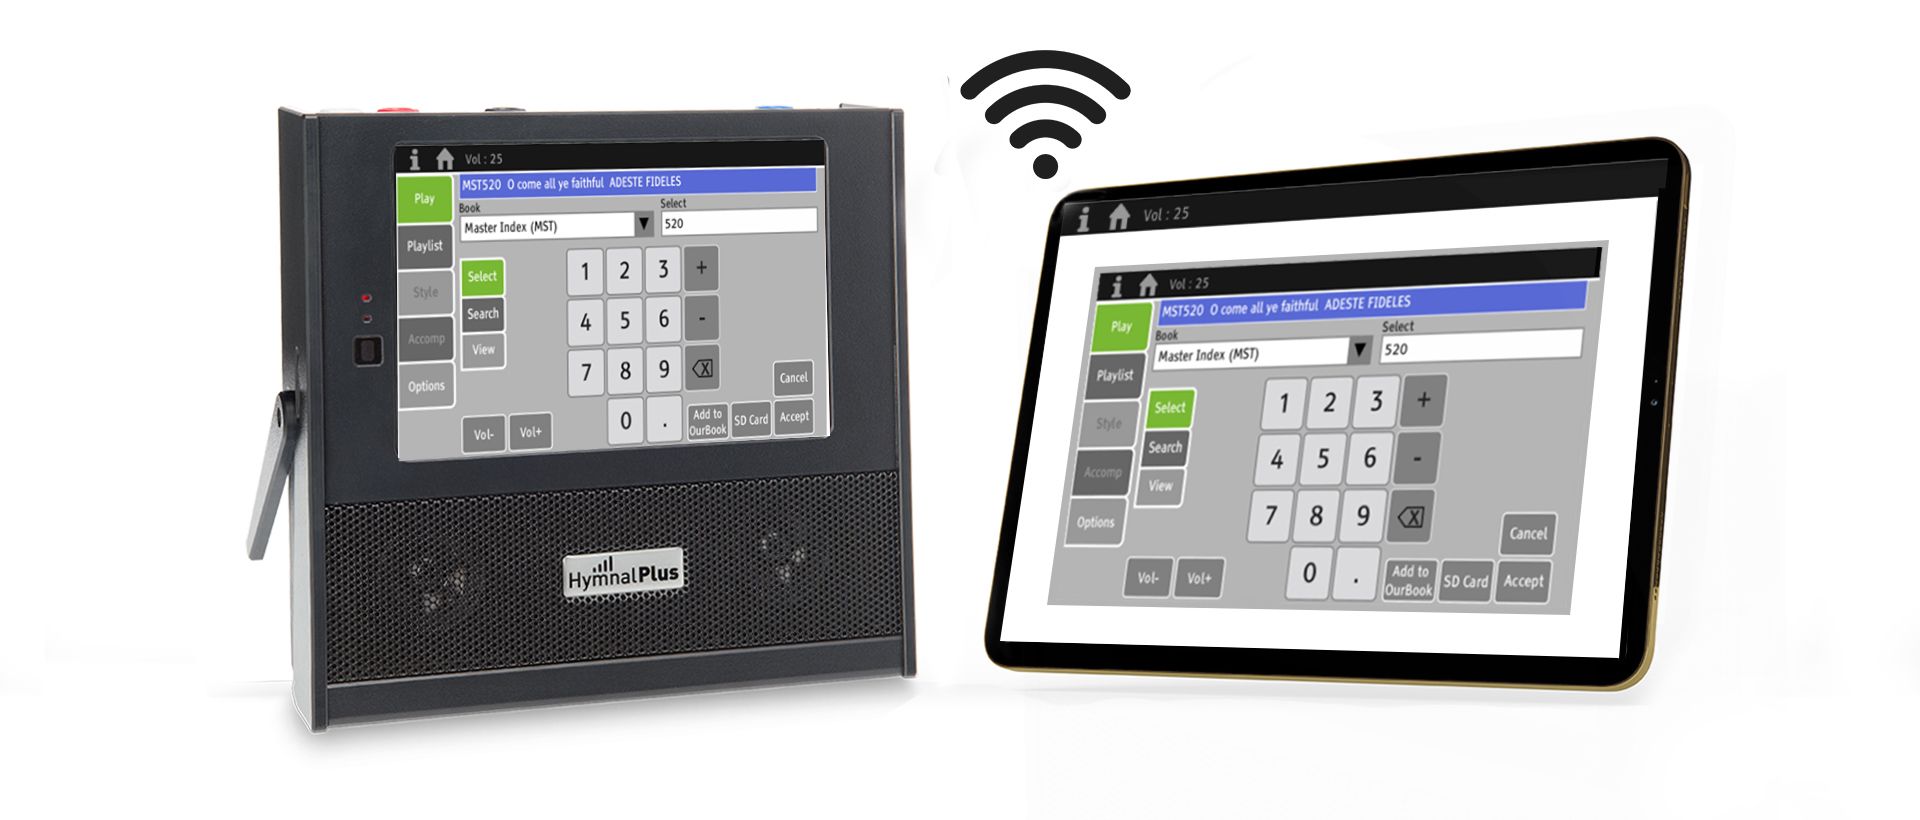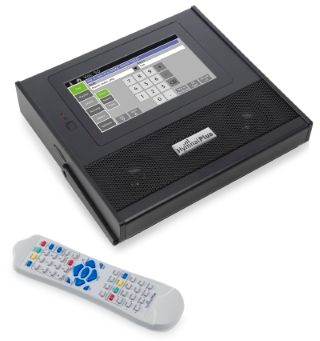
Hymnal Plus HT-400 software/ firmware update
Please follow the instructions below to update your Hymnal Plus HT-400 to the current software/firmware
Versions that will be installed:
Software v3.004, Firmware v3.10
Currently installed versions are displayed at the top of the HT-400 Options screen (General sub-tab).
If you are unsure about installing this update, ask a fellow church member, neighbour, friend or family member for assistance.
Anyone familiar with using a Windows PC should be able to help.

Important Instructions to begin
1. Ensure the HT-400 is powered off. Remove the SD card from its slot in the left side of the HT400 by pushing it in to unlatch it and then withdrawing it. Connect it to an SD card reader on a Windows PC only (other operating systems may transfer hidden folders and/or files that can stop the HT-400 from working normally so only use a Windows PC).
2. RIGHT-CLICK on this link and download the file update.zip to your Downloads folder.
3. Unzip update.zip to the root of the SD card. Afterwards you will have a new folder called update at the root level of the SD card with 9 files directly inside it (you must have all 9 and they must be directly inside a folder called update).
4. Eject the SD card.
5. Replace the SD card into the SD card slot of the HT-400, gently pushing it all the way in until its outer edge is flush with the side of the unit. It may require a slightly firmer push for the last few millimetres, as this latches it in place. Check that the card did latch into place. If you can withdraw it again without pushing it in first, it did not latch in properly.
6. Now power up the HT-400. The usual splash screen graphic will appear. The unit may turn itself off/on a couple of times while it performs some background tasks (be patient!), but then a message will appear: “UPDATING FIRMWARE – DO NOT POWER OFF”. Once the update has finished, another message may appear (this will depend on which software/firmware version you are upgrading from): “UPDATE COMPLETE - RESTART REQUIRED: TURN THE POWER OFF AND THEN BACK ON”. If so, turn off the power switch, wait for at least 20 seconds and then turn it back on. The unit will usually start up normally, but if the screen displays “System starting up… please wait” for more than 40 seconds turn the power off, wait for at least 20 seconds and then turn it back on. Allow the unit to finish booting up.
7. Finally, go to the Options screen (General sub-tab) and check that the newly installed software and firmware versions match those shown at the top of this page.

Step-By-Step Instructions
1. Make sure the HT-400 is powered off. Remove the SD card from its slot in the left side of the HT-400 by pushing it in to unlatch it and then withdrawing it. Connect it to an SD card reader on a Windows PC only (other operating systems may transfer hidden folders and/or files that can stop the HT-400 from working normally so only use a Windows PC).
2. On the PC, open My PC/This PC or File Explorer to see which drive letter the PC has assigned to the SD card.
3. RIGHT-CLICK on this link and select “Save Link As…”. The Save As window will pop up.
4. Select the drive letter for your SD card in the left column of the Save As window and then click the Save button. The update.zip file will download to your SD card.
5. View the SD card in File Explorer (or double-click its drive letter in My PC/This PC).
6. RIGHT-click on the file update.zip and select “Extract All…”. The Extract window will pop up. Click on the Extract button. This will create a folder on the SD card called update with 9 files in it.
7. Check that there are 9 files directly inside the update folder (you must have all 9 files and the folder must be called update) then delete the update.zip file (not the new folder called update).
8. RIGHT-click on the drive letter for your SD card and select “Eject”.
9. Replace the SD card into the SD card slot of the HT-400, gently pushing it all the way in until its outer edge is flush with the side of the unit. It may require a slightly firmer push for the last few millimetres, as this latches it in place. Check that the card did latch into place. If you can withdraw it again without pushing it in first, it did not latch in properly.
10. Now power up the HT-400. The usual splash screen graphic will appear. The unit may turn itself off/on a couple of times while it performs some background tasks (be patient!), but then a message will appear: “UPDATING FIRMWARE – DO NOT POWER OFF”. Once the update has finished, another message may appear (this will depend on which software/firmware version you are upgrading from): “UPDATE COMPLETE - RESTART REQUIRED: TURN THE POWER OFF AND THEN BACK ON”. If so, turn off the power switch, wait for at least 20 seconds and then turn it back on. The unit will usually start up normally, but if the screen displays “System starting up… please wait” for more than 40 seconds turn the power off, wait for at least 20 seconds and then turn it back on. Allow the unit to finish booting up.
11. Finally, go to the Options screen (General sub-tab) and check that the newly installed software and firmware versions match those shown at the top of this page.
What Will I Need?
A Windows PC only with facility to connect an SD card (other operating systems may transfer hidden folders and/or files that can stop the HT-400 from working normally so only use a Windows PC).
Before You Go...
You will also want to download the user manual addendum covering the new features in version 3:
If updating from version 1 software, download both the ver 2 and ver 3 addendums below.
If updating from version 2 software, download just the ver 3 addendum below.
HT-400 ver 2 software user manual addendum
HT-400 ver 3 software user manual addendum


